Return to Marshall's Airstream Bambi Home page
All pictures and content (except as otherwise noted) are 2003 copyright of Marshall Swartz, Falmouth, MA.
Internal Additions:
ATC-30 Automatic Transfer Switch:
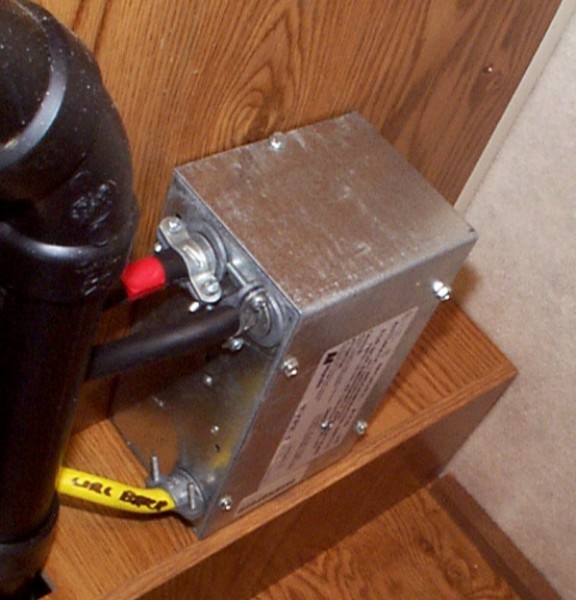
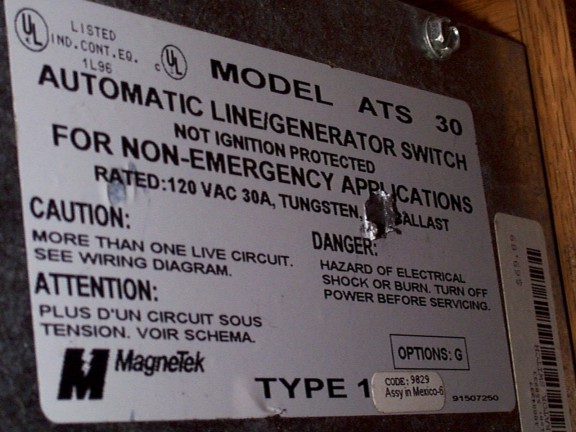
An automatic generator transfer switch was installed inside the Bambi closet to provide for automatic switching from shore power (if available) to the generator power. This switch has a 30-second delay between the first sensing of over 110 VAC on the generator input line and the switchover from shore to generator power, to give a generator time to stabilize. This unit, a Magnetek model ATS-30 with a 30-amp rating, is hardwired into the AC line at the AC circuit breaker box.
files: Bambi_ClosetATS30_01344.JPG, Bambi_ATS30_01345.JPG
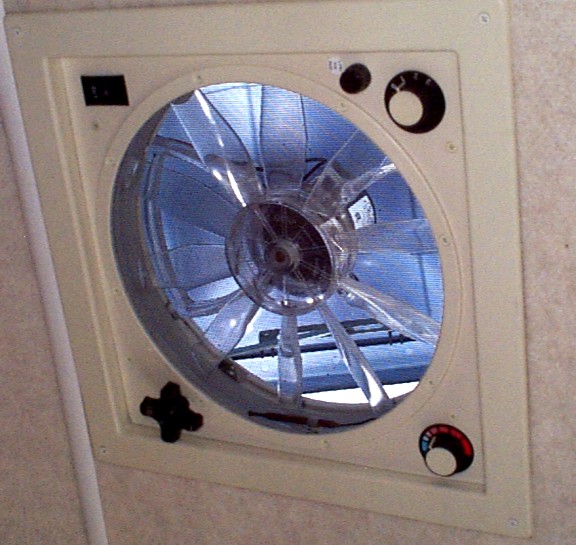
file: Bambi_FwdFanTastic1_01352.JPG
file: Bambi_MicrowaveToaster1_01349.JPG, Bambi_MicrowaveToaster2_01350.JPG
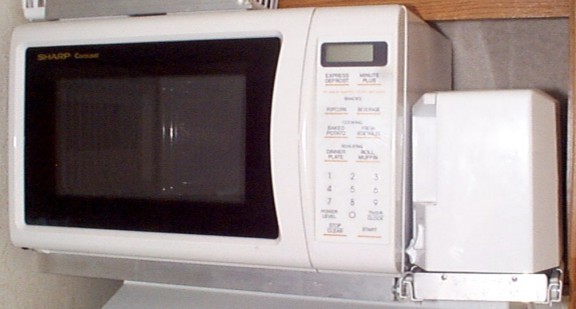
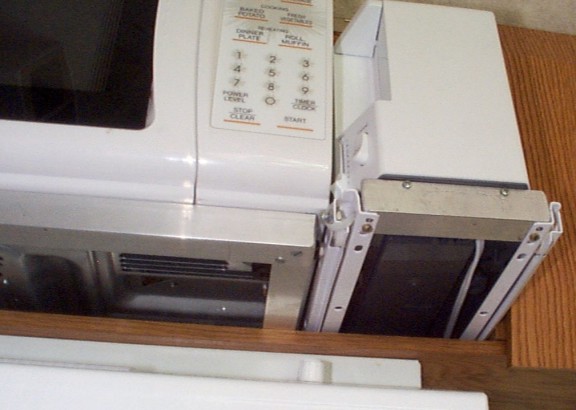
Image provided by Airstream, Inc.
Interior "Storm" Windows:
I do a substantial amount of travel during cold months, and after two seasons of having the windows sweat during freezing weather, I decided to find a way to add an insulating window covering to the existing windows. These additions must not modify the existing windows, must be transparent, and easy to take off. I located clear storm window material, twist-mount window holders and 0.75 inch thick one-side adhesive foam insulation tape at a local hardware store and spent a day installing these windows on the inside of the trailer.
For the non-opening streetside, front and curbside upper window segments, and for the door, I removed the existing inner window bezel, and cut cardboard templates of the appropriate size to fit over the existing windows. At the bottom edge, I used 0.5 inch aluminum angle stock as a base retainer, and drilled small holes through the stock into the existing window frame, riveting them into place. Then the new upper storm window was cut to the template size, cleaned, and the bezel was replaced.
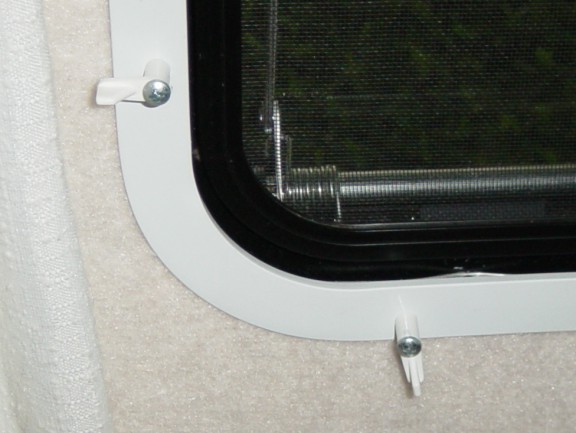
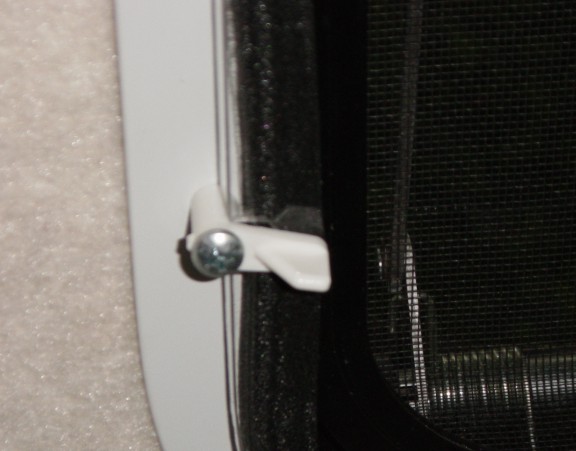
For all the remaining vented window segments and for the rear emergency window, I used twist-mount holders with extended stainless steel screws to replace the existing window bezel screws. I then cut a cardboard template of the perimeter of the mounting screws, which allows enough area for the insulating tape, when mounted on the storm window, to compress against the inner bezel. I then cut the storm window plastic to the templates, and machined a semicircular notch where each mount is located to aid in positioning. The storm window was cleaned with alcohol and the single-sided tape was applied carefully to the perimeter of the storm window. To install, the storm windows are simply positioned over the window bezel and the twist-mount tabs are rotated 180 degrees to secure the windows in place.
The pictures below show the curbside window after installation of the twist-mount holders, before and after the installation of the prepared storm window.
File: DSC00137.JPG
File: DSC00135.JPG
===
Return to Marshall's Airstream Bambi Home page
file: add_internal.html
= end =.